

When our home’s air conditioning stops working, it’s a real bummer, especially when it’s hot outside. We often think we need a professional right away, but sometimes, simple issues can be fixed with a bit of our own effort. This guide is here to help us with some basic diy ac troubleshooting, so we can get our cool air back without always calling for help.
Key Takeaways
- Regularly checking and replacing your air filter is a simple yet effective way to keep your AC running smoothly and improve air quality.
- If your AC isn’t cooling, first check the thermostat settings and battery to rule out common user errors.
- For more involved diy ac troubleshooting, inspect the outdoor condenser unit for any blockages and learn the signs of potential refrigerant leaks.
Common AC Issues And DIY Fixes
When your air conditioner starts acting up, it can be a real headache, especially when the temperatures climb. We’ve all been there, right? That moment you realize the cool air isn’t flowing like it should. Before you call for professional help, there are a few common issues we can tackle ourselves. It often comes down to simple maintenance or a quick fix that can save us time and money.
Checking Your Air Filter
The air filter is probably the most common culprit when your AC isn’t performing well. A dirty, clogged filter restricts airflow, making your system work harder and less efficiently. It can even lead to the evaporator coils freezing up. We should check this filter regularly, usually every one to three months, depending on how often we use the AC and if we have pets or allergies.
Here’s a simple way to check and replace it:
- Locate the filter. It’s usually in the return air duct, often near the indoor air handler unit or in a wall or ceiling grille.
- Note the size and type of filter. It should be printed on the side of the old filter.
- Slide out the old filter. Be careful not to let any dust fall out.
- Insert the new filter, making sure the airflow arrow on the filter points in the correct direction (usually towards the air handler).
Replacing a dirty filter is one of the easiest and most effective ways to improve AC performance.
Troubleshooting Thermostat Problems
Sometimes, the issue isn’t with the AC unit itself but with the thermostat controlling it. A thermostat that’s not set correctly or is malfunctioning can make us think the AC is broken when it’s just not getting the right signal.
Let’s look at a few things we can check:
- Settings: Double-check that the thermostat is set to ‘Cool’ mode and that the desired temperature is set lower than the current room temperature. It sounds obvious, but we’ve all made that mistake.
- Batteries: If your thermostat uses batteries, try replacing them. Low batteries can cause erratic behavior or prevent it from communicating with the AC unit.
- Power: Ensure the thermostat is receiving power. Some thermostats have a circuit breaker that might have tripped, or a fuse that needs replacing.
- Obstructions: Make sure nothing is blocking the thermostat’s sensor, like furniture or curtains. This can prevent it from accurately reading the room temperature.
If the thermostat display is blank or unresponsive after checking these points, it might be time to consider replacing the thermostat itself.
Advanced DIY AC Troubleshooting
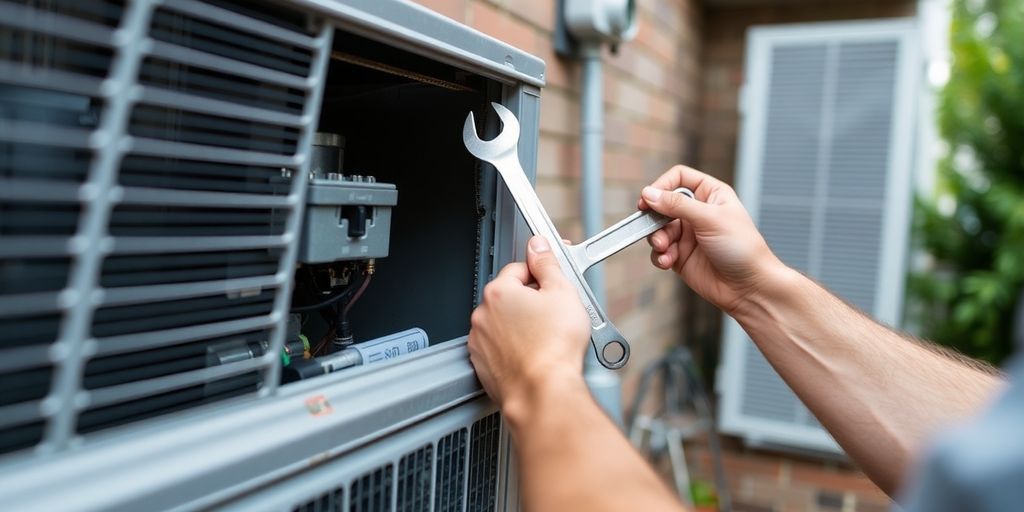
Sometimes, the problem with your air conditioner goes a bit deeper than a dirty filter or a wonky thermostat. When those simpler fixes don’t do the trick, we might need to look at a couple of other areas. These steps require a bit more attention and care, so always remember to turn off the power to your AC unit at the breaker box before you start poking around.
Inspecting Condenser Unit Obstructions
The condenser unit is that big metal box that sits outside your house. It’s responsible for releasing heat from your home into the outside air. If it can’t do that job properly, your AC won’t cool well. We need to make sure it’s not blocked.
- Check for Debris: Look around the base of the unit and all over its sides. We often find leaves, grass clippings, twigs, and even trash bags that have gotten blown into it. Remove anything you see.
- Clear Vegetation: Plants and bushes can grow too close to the unit, restricting airflow. We recommend keeping at least a two-foot clearance all around the condenser.
- Straighten Fins: The sides of the unit have thin metal fins. Sometimes these get bent, blocking air. You can gently straighten them with a fin comb, which you can find at most hardware stores. Be careful, though; they bend easily.
- Clean the Coils: Over time, dirt and grime can build up on the coils themselves, both inside and outside the unit. You can use a garden hose with a gentle spray to rinse the outside coils. For the inside coils (evaporator coils), it’s usually best to call a professional, but if you’re feeling brave and have turned off the power, you might be able to access them after removing a panel. Just be gentle.
Identifying Refrigerant Leaks
Refrigerant, sometimes called Freon, is the stuff that actually makes your air conditioner cold. If you have a leak, your system won’t be able to cool your home effectively, and it’s also bad for the environment. Spotting a leak yourself can be tricky, but there are a few signs to look for.
- Listen for Hissing: A hissing or bubbling sound coming from the AC unit, especially around the outdoor condenser or the copper lines connecting to it, can indicate a refrigerant leak.
- Check for Ice Buildup: If you see ice forming on the refrigerant lines or the evaporator coil inside your home, it’s a strong sign that the refrigerant level is low, likely due to a leak.
- Feel for Weak Airflow: If the air coming out of your vents isn’t as cold as it used to be, or if the airflow feels weak, it could be a symptom of low refrigerant.
- Look for Oily Residue: Refrigerant often carries oil with it. If you see a greasy or oily residue around any of the AC unit’s connections or coils, it might be a sign of a leak.
If you suspect a refrigerant leak, it’s really important to stop using the AC and call a qualified HVAC technician. Refrigerant needs special handling and equipment to be recharged safely and legally. Trying to top it off yourself without fixing the leak is usually a temporary fix and can cause more damage.
Wrapping Up Your AC Fixes
So, we’ve gone over a few ways to tackle common AC problems yourself. It’s good to know these basics. Sometimes, a simple fix can save you a service call. We hope these tips help you get your air conditioner running smoothly again. Remember, though, if a problem seems too big or you’re just not comfortable, it’s always best to call a professional. We don’t want anyone getting hurt or making things worse. Stay cool out there!
Frequently Asked Questions
What’s the first thing we should check if our AC isn’t blowing cold air?
If your air conditioner isn’t cooling, the first thing we recommend checking is the air filter. A dirty or clogged filter can really block airflow, making your system work harder and cool less effectively. We suggest swapping it out for a clean one every one to three months, depending on how often you use your AC and if you have pets.
How can we tell if our thermostat is causing AC problems?
Sometimes, thermostat issues can make it seem like the AC isn’t working right. We advise verifying that the thermostat is set to ‘cool’ and that the temperature is set lower than the room temperature. Also, ensure the batteries are fresh if it’s a battery-powered model. A quick reset might also do the trick.
What are some signs that might indicate a refrigerant leak in our AC unit?
We can generally tell if there’s a refrigerant leak if we notice ice buildup on the cooling lines or if the unit isn’t cooling as well as it used to, even with a clean filter. Another sign might be a hissing sound. If we suspect a leak, it’s best to call a professional because handling refrigerant requires special tools and knowledge.


