

When your heater decides to act up, it can be a real pain, especially when the weather outside isn’t cooperating. We’ve all been there, right? That moment you realize the house is getting chilly and the heater isn’t doing its job. Before you call for professional help, there are a few basic things we can check ourselves. These simple heater troubleshooting tips might just get things running again without a fuss.
Key Takeaways
- First, we should always look at the thermostat. Make sure the settings are correct for heating and the temperature is set higher than the current room temperature.
- Next, checking the air filter is a good idea. A dirty filter can really block airflow, making the heater work harder and less effectively.
- If these don’t solve the problem, we might need to listen for any strange sounds the heater is making or examine the pilot light to see if it’s lit.
Common Heater Troubleshooting Tips
When your heater decides to take a break, it can be a real pain, especially when the weather outside isn’t cooperating. Before you call in the professionals, there are a few things we can check ourselves. Often, the fix is simpler than we think.
Check The Thermostat Settings
This might sound obvious, but we’ve all been there – a quick glance at the thermostat can save a lot of hassle. Make sure it’s set to ‘Heat’ and not ‘Cool’ or ‘Fan Only’. Also, double-check the temperature setting. Is it set higher than the current room temperature? If the thermostat is programmed, ensure the schedule hasn’t accidentally set the temperature lower for the current time.
- Verify the mode: Confirm it’s set to ‘Heat’.
- Check the temperature: Ensure the desired temperature is above the room’s current temperature.
- Review the schedule: If you have a programmable thermostat, look at the set schedule for the day.
Sometimes, the batteries in a thermostat can die, leading to incorrect readings or a complete lack of response. If your thermostat uses batteries, it’s a good idea to replace them if they haven’t been changed in a while. A low battery can cause all sorts of strange behavior.
Inspect The Air Filter
A clogged air filter is one of the most common culprits behind a struggling heater. When the filter is full of dust and debris, it restricts airflow. This makes your heater work harder, can cause it to overheat and shut down, and generally reduces its efficiency. It’s a simple maintenance task that makes a big difference.
Here’s how to check and change your air filter:
- Locate the air filter. It’s usually found in the return air duct or near the furnace itself.
- Carefully remove the old filter. Note the direction of airflow indicated on the filter frame.
- Examine the old filter. If it looks dirty or you can’t see light through it, it’s time for a new one.
- Install the new filter, making sure to orient it according to the airflow arrows.
We recommend checking your air filter at least once a month, especially during heavy usage periods. Replacing it regularly can prevent bigger problems down the line.
A dirty air filter doesn’t just affect your heater’s performance; it can also impact your home’s air quality. Dust and allergens get trapped, and when airflow is restricted, the system can’t circulate air effectively.
Addressing Specific Heater Issues
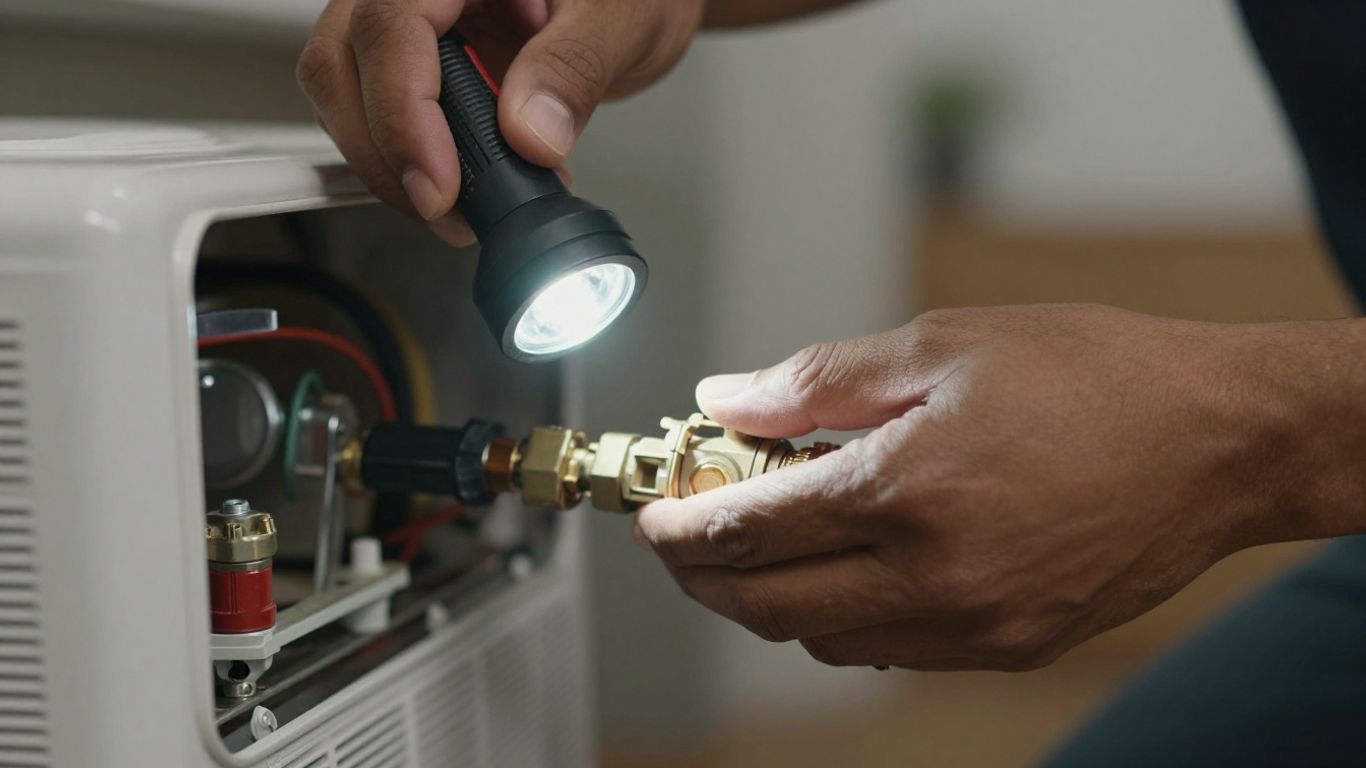
Sometimes, even after checking the basics, your heater might still be acting up. We’ll look at a couple of common problems that pop up and how we can tackle them.
Listen For Unusual Noises
Your heater might be trying to tell you something. Strange sounds are often the first sign that something isn’t quite right. We need to pay attention to what we’re hearing.
- Rattling: This could mean loose parts inside the unit or maybe something is obstructing the airflow, like a bit of debris. We should check around the vents and the unit itself.
- Banging or Clanking: This is usually more serious. It might point to a problem with the blower motor or even the heat exchanger. If you hear this, it’s best to turn off the heater and call a professional.
- Screeching or Grinding: Often, this indicates a worn-out motor bearing or a fan belt that’s coming loose. These parts will likely need replacing.
- Clicking: A little clicking when the system starts up or shuts down can be normal. But if it’s constant or happens at odd times, it might mean an electrical issue, perhaps with the ignition or a relay.
We’ve found that ignoring strange noises is rarely a good idea. What might start as a minor annoyance can quickly turn into a bigger, more expensive repair if left unchecked. It’s always better to be safe and investigate.
Examine The Pilot Light
For older gas furnaces, the pilot light is a small flame that stays lit and ignites the main burners when needed. If your heater isn’t producing heat, a faulty pilot light is a common culprit.
- Locate the Pilot Light: It’s usually found near the main gas valve, often behind a small access panel. You might need a flashlight to see it clearly.
- Check if it’s Lit: Look for a steady, small blue flame. If there’s no flame, or if it’s yellow and flickering, that’s your problem.
- Relighting the Pilot: Most furnaces have instructions printed on a label near the gas valve. Generally, you’ll need to turn the gas control knob to ‘PILOT’, press and hold it down, and then use a long lighter or the built-in igniter to light the pilot. Keep holding the knob for about a minute after the flame catches to let the thermocouple heat up. Then, slowly release the knob and turn it to ‘ON’.
If the pilot light won’t stay lit after a few tries, there might be an issue with the thermocouple, which is a safety device that senses the pilot flame. It might need cleaning or replacement. If you’re not comfortable with this process, it’s time to get a technician involved.
Wrapping Up
So, we’ve gone over some basic ways to check your heater when it’s not working right. Often, a simple fix is all that’s needed, like checking the thermostat or making sure the power is on. We hope these steps help you get your heat back without too much fuss. If you try these things and your heater still isn’t cooperating, it’s probably time to call in a professional. They have the tools and know-how to handle more complicated problems safely. Don’t hesitate to reach out to a qualified technician if you’re unsure about any step or if the issue seems beyond a simple fix. Staying warm is important, and knowing when to get expert help is part of that.
Frequently Asked Questions
What should we do if our heater isn’t turning on at all?
First, we should always double-check the thermostat. Sometimes, it might be set too low or accidentally turned off. If that looks fine, we’ll want to make sure the power switch for the heater is in the ‘on’ position. It’s also a good idea to check our home’s circuit breaker to see if it has tripped.
Why might our heater be making strange sounds?
Odd noises can mean a few different things. A banging sound might point to a problem with the ductwork expanding or contracting with the heat. A clicking noise could be related to the ignition system not working correctly. We should listen carefully to the type of sound and where it’s coming from, as this can give us clues.
How often should we clean or replace our heater’s air filter?
We recommend checking the air filter at least once a month. If it looks dirty or clogged, it’s time to clean or replace it. A dirty filter can make our heater work harder, use more energy, and not warm our home as well. For most homes, replacing it every three months is a good general rule, but this can change depending on how much we use the heater and if we have pets.


